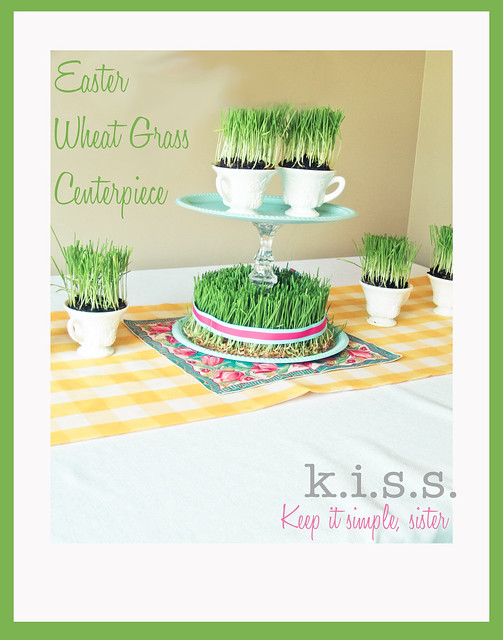
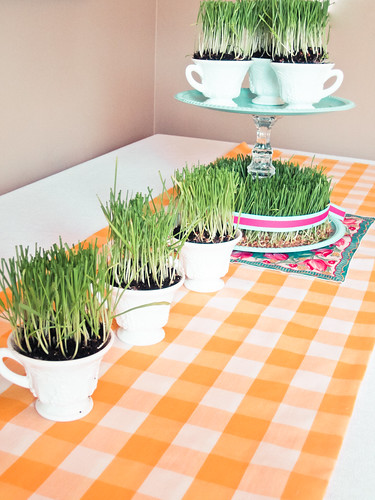
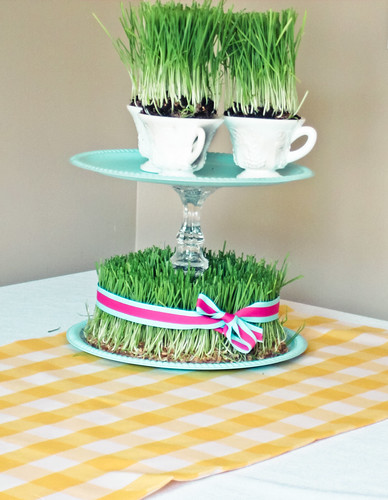
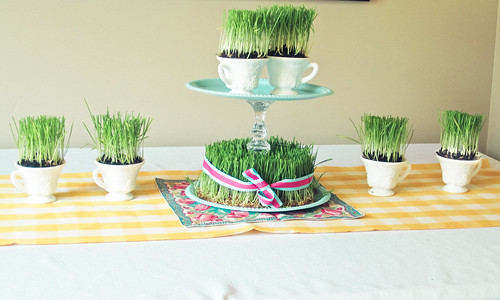
I am rather preoccupied with wheat grass at the moment. While wheat grass centerpieces for Easter are certainly not a new concept, I tried to find a unique way to display this Easter staple. So, using some vintage and vintage-inspired elements, I created this fun wheat grass table scape.
Friends, do not be intimidated at the thought of growing wheat grass. Speaking as a woman who has killed cacti and every other form of plant matter, I must tell you, it is nearly impossible to ruin wheat grass. I've grown it from seed multiple times this Spring. It is cheap, easy fun (you may have all of the supplies already on hand) and what I didn't anticipate is how much four-year-old would love being involved. So let's gather the supplies and the kids and get started!
{It takes about 9-10 days to get your wheat grass to the display stage. If you want to have your centerpiece ready in time for Easter weekend, start the growing process between
April 11 and April 13.}
Easter Wheat Grass Centerpiece Tutorial
April 11 and April 13.}
Easter Wheat Grass Centerpiece Tutorial

Supply List
- Potting soil
- tiny rocks or gravel
- paper towels
- scissors
- grosgrain ribbon (my aqua and hot pink ribbon is from Wal-Mart)
- 1 cup of hard red wheat ( available in health food stores for about 95 cents/lb. My 1 lb bag was enough for multiple projects).
UPDATE: Do not use dry-packed wheat from your pantry or food storage. It won't sprout.
- 7-9 tea cups or other fun small containers for planting ( I found my cups at a thrift store for 50 cents each. Do you love them?! I do!)
- A fabulously spray-painted Blue Ocean Breeze vintage-inspired dollar store dessert stand (read here how to make it) or use your own cake/dessert stand to display the grass.
For this project, I grew wheat grass in soil and on a paper towel. Did you know you can grow it on just paper towels? Neither did I until I started experimenting. I love the paper towel method because you don't have the mess of soil and it gives you so many unique options for displaying it. For this project, start both your soil-grown and paper towel-grown seeds on the same day.
Growing Wheat Grass in Soil
Kids can complete most of these steps with your supervision and they love this project because the grass grows so quickly, it actually holds their interest.
1. Soak 1/2 cup of seeds in water for 24 hours (you can leave it for up to 48 hours if you tend to get distracted like me, and still plant it).
2. Put some gravel or very small rocks in the bottom of your container for drainage (I tried skipping this step once and my grass roots got moldy)
3. Fill it with soil, leaving about 1/2 inch of space at the top of the container and add a little water ( if your kids are doing this part, they may need a little help measuring, as you'll see below ;)
4. Spread your seeds on top of the soil. You want your grass to be dense, so the whole surface of your soil should be covered with seeds, but they shouldn't piled on top of each other. You may have left over seeds depending on the size of your planters.
5. Cover the seeds with a very thin layer of soil- just enough so they aren't exposed.
6. Water twice a day.
7. Within about 48 hours, you should see little green sprouts- very exciting!
8. Transfer your planters to a sunny spot (near a window) and keep the soil moist. Watering 1/4 cup per planter, twice a day, worked well for me.
9. By day 10 you should have a very healthy crop of grass
(this photo is of grass on day 12- very long)
10. Give it a hair cut (my daughter loved this part) and show it off.
Growing Wheat Grass on Paper Towels
Again, get the kids involved in this!
1. Soak your seeds (1/2 cup) in water for 24 hours
2. Stack 3-4 thick, absorbent paper towels on top of each other and cut in a circcular shape that will fit on your display plate.
3. I used a cup to trace and cut a circle in the center of mine to accommodate the center column in the desert stand display.
4. At this point, I would recommend transferring your paper towels to a regular plate that is easily movable and washable. You can transfer the grass to the display stand once it has grown.
5. Wet the paper towels
6. Spread the seeds on top of the paper towels. You want your grass to be dense, so the whole surface of your paper towel should be covered with seeds, but they shouldn't pile on top of each other.
7. Cover the seeds with 2-3 more wet paper towels
8. Wet the paper towels several times (4-5) a day for the next two days. Do not let your paper towels get dry, they should be thoroughly wet, but not so wet that there is excess water on the plate (drain the plate if you have excess water).
9. When you see tiny white little sprouts, transfer your plate to a sunny place, but keep them under wet paper towels.
10. Within 1-2 more days, you should see little green sprouts-hooray!
11. Once you see green, remove the top paper towels, but continue to keep the grass wet, watering 1-2 times a day.
12. When you start to see the little white roots poking through the bottom of the paper towels, you can cut an opening in the paper towel ring open, cutting any roots in your way. Do this so you can slide the grass ring around the pillar on your display tray.
.
( I put the baby bottle in the center of mine to prevent the grass roots from covering up the the circular opening in the middle.)
13. By day 10 ( or possibly sooner) you should have a pretty decent crop of grass in need of a hair cut.(image of the bottom root system of your paper towel-grown grass- Is this cool or I have morphed into a wheat grass geek?)
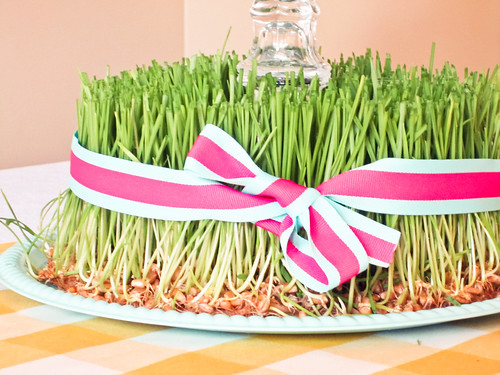
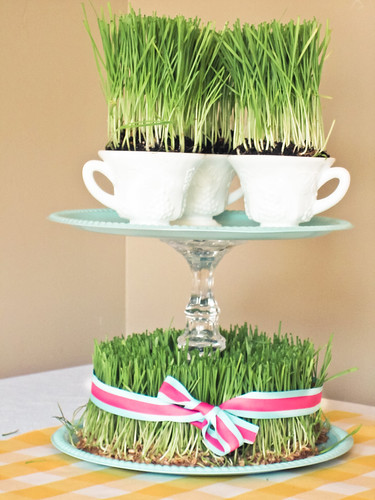
When you have a lovely crop of wheat grass with a fresh hair cut, stack your tea cups on the top of your display tray and slide the grass ring around the base tray. Tie a piece of ribbon around the grass if you like.
Enjoy your Easter weekend knowing that you do, in fact, have a bit of a green thumb.
I am linking up to Wow us Wednesday at Savvy Southern Style and these sensational blogs this week, I hope you'll pay them a visit!

